Italian Meatballs: A Tribute to our Italian Mothers
Italian Meatballs — A Tribute to our Italian Mothers
Everyone’s Italian-American mom makes her own version of Italian Meatballs. And they are all the best!
Try Mom’s Best Italian Meatballs for YOUR Sunday Family Dinner!
Italian Meatballs: A tribute to our Italian Mothers is a reprint from a blog originally posted on October 10, 2018, titled: “Mom’s Best Italian Meatballs.”
I’ve since learned a about vegetarian meatballs from the blog post “Polpette di Melanzana (Eggplant Balls)” by Luca Marchiori, who mentions in his blog that it is traditional to make meatballs from eggplant in Puglia. He also notes that in Italy, “meat is only one of many ingredients Italians use to make polpette. In Rome, for example, there is a restaurant called Polpetta which serves them made from a variety of ingredients, many of them vegetarian. In fact their menu is topped by the hashtag #tuttoèpolpettabile (#youcanmakepolpettefromanything).”
Also…
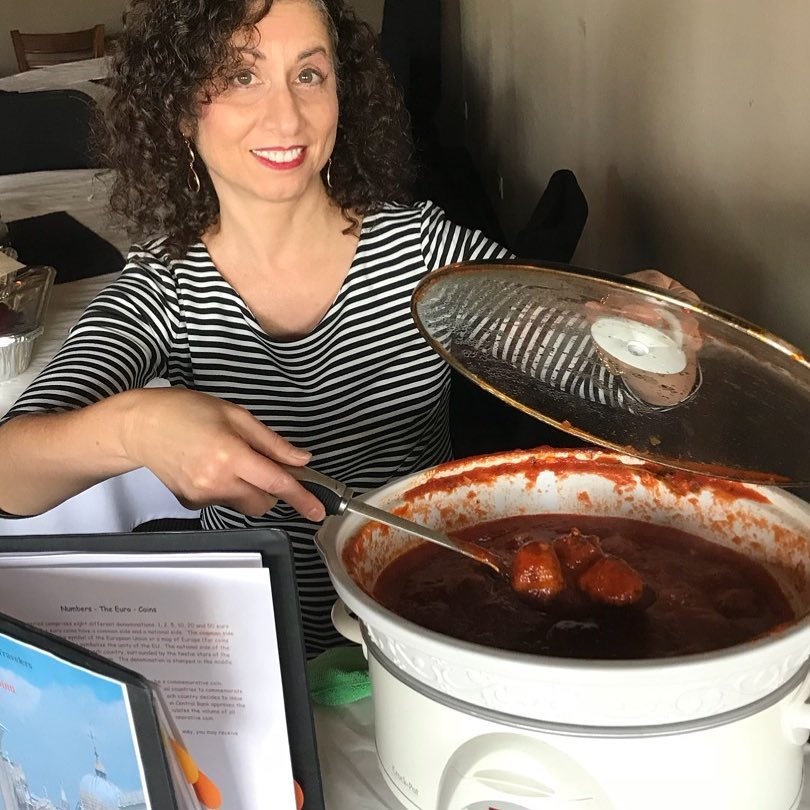
I’ve since added Instagram to my social media, and have added a video from Instagram to this post so you can see me cooking in real-time! I hope you like it!
For more recipes like these, as well as French recipes, follow me on my Instagram posts at Conversationalitalian.french.
And now… the original story!
The blog title, “Mom’s Best Italian Meatballs,” came about during an event I attended with the Chicagoland Italian American Professionals (CIAP) this fall. The executive director, Salvatore Sciacca and his group feature Italian-American “cooking competition” events several times a year, and I have to say, they are always a delicious and entertaining way to spend a Sunday afternoon with my family.
So, when I was invited to be one of the home cooks for this fall’s event, The First Annual Meatball Fest, I quickly checked my calendar, noted I was available, and signed up for another Sunday afternoon of Italian-American food and fun.
Making Mom’s Best Italian Meatballs
I had learned my family recipe for Italian meatballs from my Sicilian-American mother and grandmother long ago, and have been preparing meatballs for my own family for Italian Sunday dinners for about 20 years now. I was happy to share my family’s recipe with other families at the event, and also looking forward to tasting what the other home cooks had to offer.
Growing up in an Italian-American household as I did, I really did not have to do anything special to prepare for the Italian meatball event held by the CIAP group – at least,
I thought I didn’t have to do anything special !
As it turned out, though, after hearing the other home cooks talk about their method for making meatballs, I came home curious about the origins of this very common Italian-American dish and ended up doing a bit of research after the event!
I decided to write a blog to share my experiences that day and what I have been able to learn about the evolution of the many different styles of meatballs that are loved here in America today. And of, course, my family’s Italian-American recipe and tips I found from one of my favorite “go-to” Italian cook books, Ada Boni’s Italian Regional Cooking (translated from Italian into English by the International Culinary Society, New York ©1969) will be included in the blog.
I’d love to hear how YOUR family makes Italian meatballs – leave a comment if you wish at the end of the blog! Buon appetito! – Kathryn Occhipinti
****************************************
How to Make “Mom’s Best Italian Meatballs”
****************************************
Let’s get back to the story of the day I was a home cook for The First Annual Meatball Fest, held by CIAP.
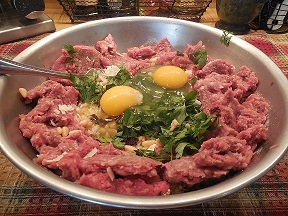
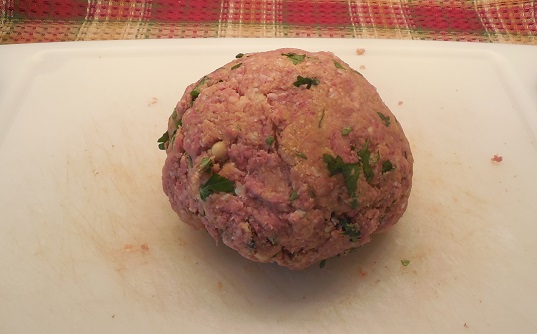
The morning of the CIAP event, I rummaged around the basement to find my trusty crock pot, rinsed it off, and set a pot of tomato sauce to cook on the stove. I set a large bowl on the counter and followed the same routine as I have done many times before for my family: put ground beef and all other ingredients into the large bowl, mix gently, and roll into balls.
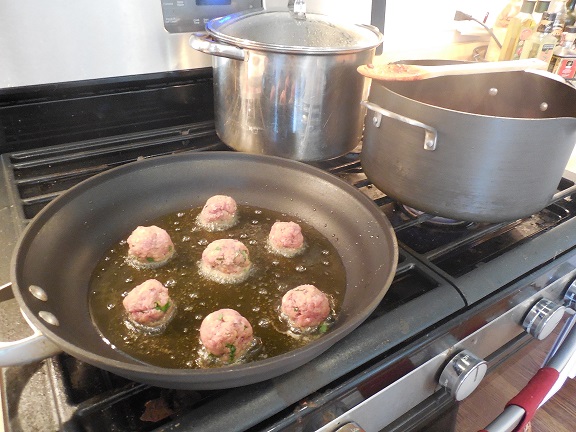
I am from the “Italian Mom’s Cooking School” that fries, rather than bakes meatballs to brown them. ( Sorry, I hope I haven’t offended anyone – I know there is a BIG debate about this in the Italian-American community, but I think browning dries out the meatballs and is better left to restaurants making large batches of meatballs at one time.)
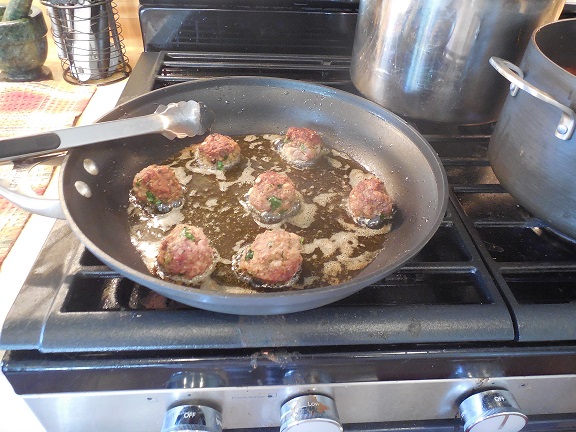
I browned my meatballs in olive oil carefully, turning each with tongs to get them browned on all sides.
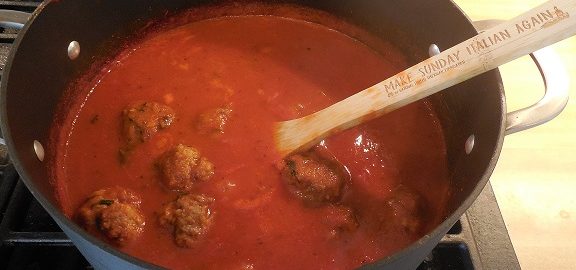
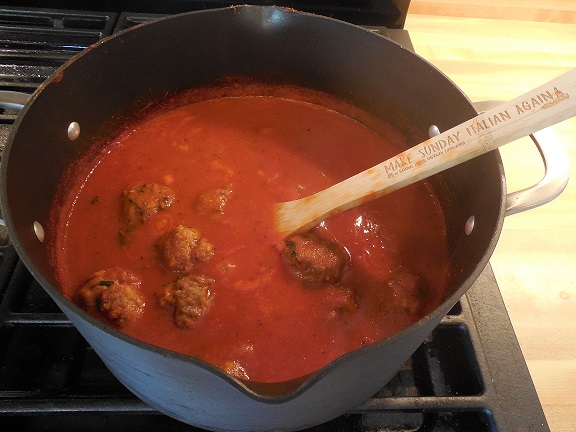
After the meatballs had browned, I added them gently to the simmering pot of tomato sauce on the stove to finish cooking.
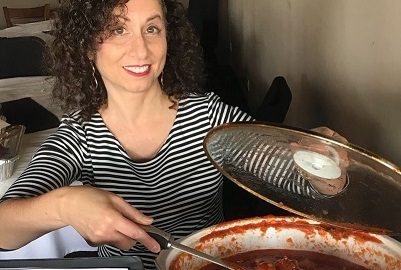
I was taught to always stir my tomato sauce with a wooden spoon, and have a small collection of wooden spoons – some with long handles, some with short handles; some I save just for sauteing onions and garlic, others for “non-onion” savory or sweet dishes – but recently have been using my favorite wooden spoon for my tomato sauce, which I bought as a part of a fundraiser for the National Italian American Foundation.
The NIAF recently started a “Make Sunday Italian Again” campaign, which I love, as it not only promotes Sunday time together with family, but also raises money for their scholarship program by selling these “Nonna spoons” that have the slogan “Make Sunday Italian Again” engraved on the wooden handle. Check out the NIAF website, if you like, after you finish reading this blog, of course!
After about 30 minutes, the meatballs had finished cooking and the sauce had a nice, meaty taste. I adjusted the salt and pepper, put all into the crock pot and left to join the event.
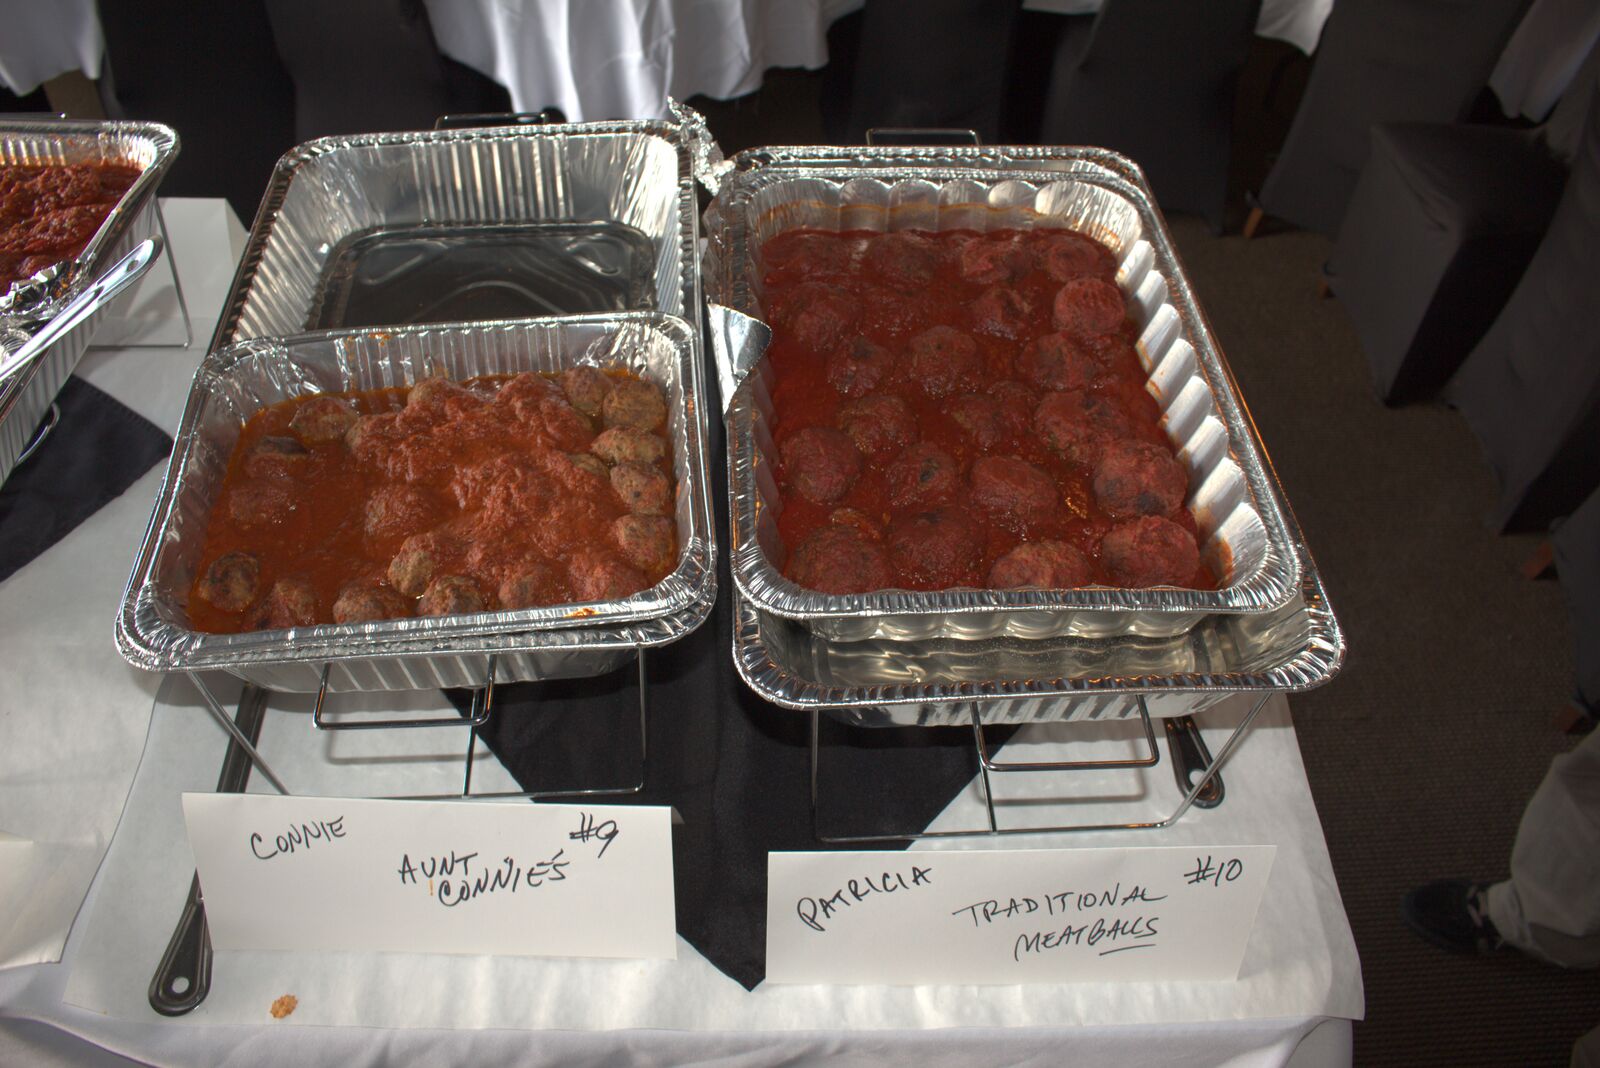
When I arrived at the event, with my tried and true “Mom’s Best Italian Meatballs”, I learned that I was one of 10 different contributors to the dinner! I named my meatballs “Mom’s Best”, because it seems to me that every Italian mother’s meatballs are loved and considered the best by her family!
I was happy to see Italian-American home cooks of all ages, and both men and women contributed their meatballs for the event. There were two long tables of meatballs and a long line formed as everyone tried to taste them all.
 Enjoying Italian meatballs at the CIAP 1st Annual Meatball Fest
At first, I had thought this would be a competition, but as it turned out, just as I had suspected, although all the meatballs were made with different ingredients, EVERYONE’s meatballs were delicious, and in the end, no vote was taken!

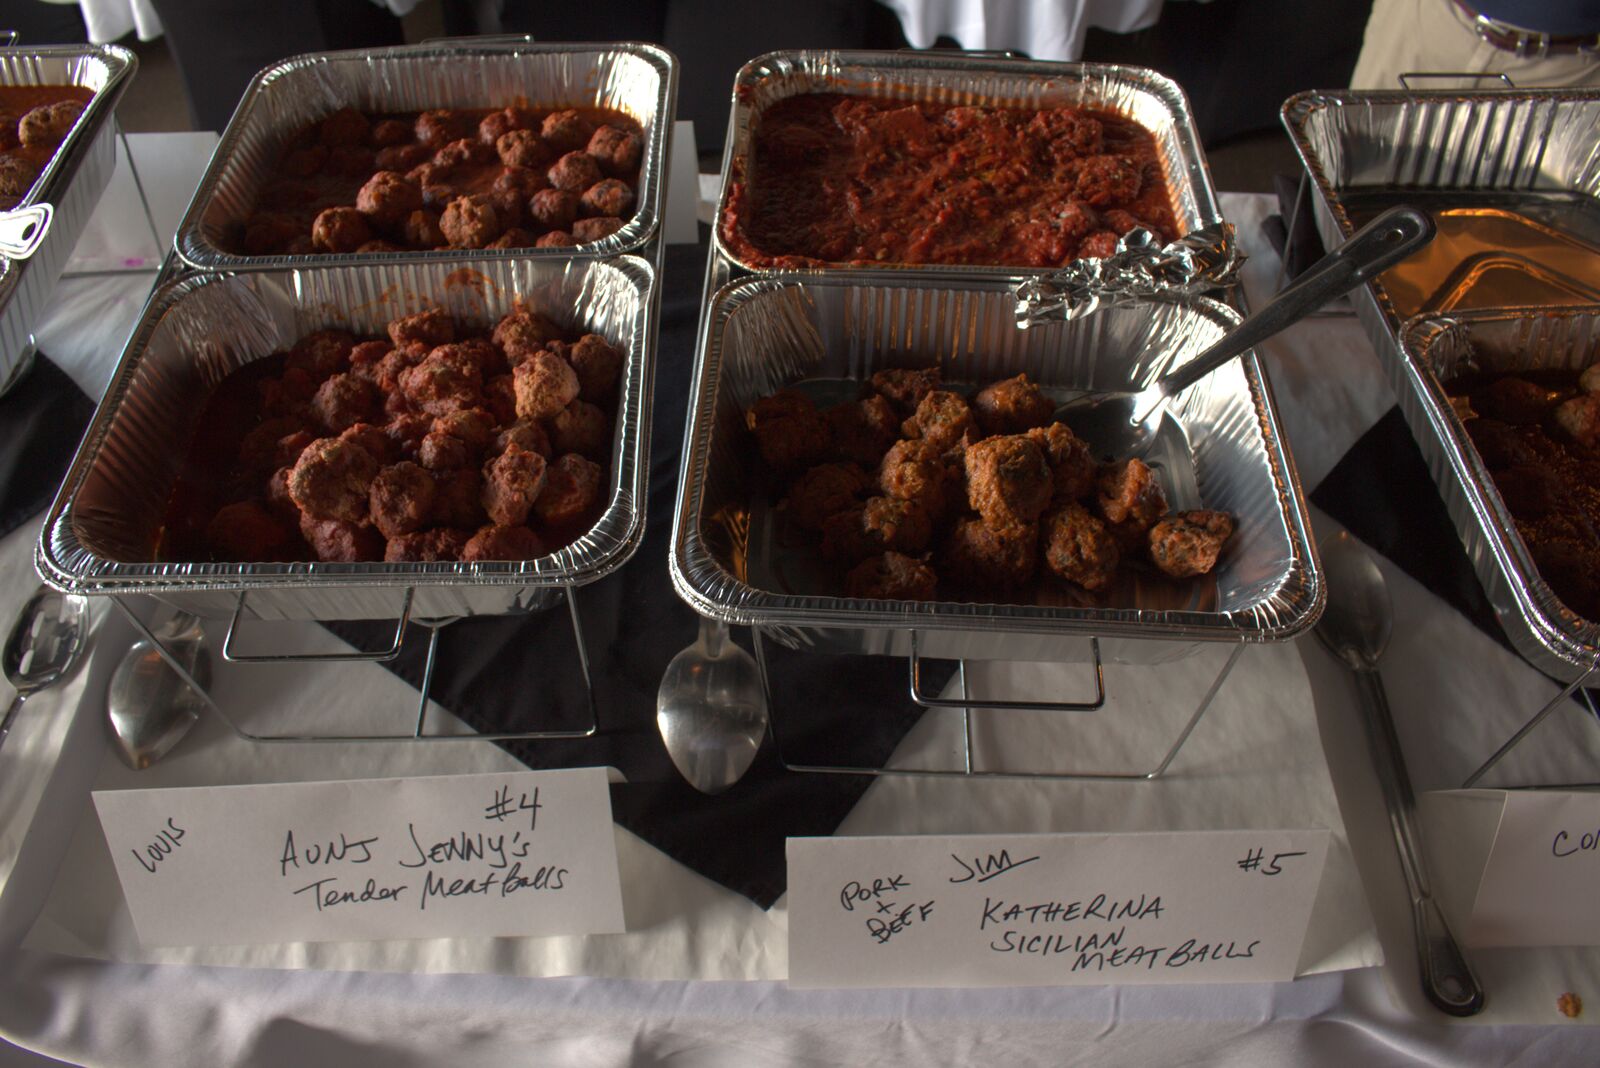
Below is a picture of those who participated, holding signs with the names of the type of meatballs they contributed. (I am in the back row and the Executive Director, Salvatore Sciacca, is just to my left.)

Read on for the recipe that I used to make my “Mom’s Best Italian Meatballs”. Additional tips I learned from reading about meatballs are given in green italic lettering. As a bonus, I am including my family’s recipe for basic Italian tomato sauce. For tips on making Italian tomato sauce, please visit my blog Braciole – Italian Beef Rolls for Sunday Dinner. Of course, your own favorite tomato sauce will be fine as well!
But don’t stop after reading the first recipe, because when I went home I did a bit of research in Ada Boni’s cook book and discovered more tips on making “the best” meatballs in different styles that you may want to try yourself!
Ingredients
1 medium onion, chopped finely
1 clove garlic, chopped
2 Tablespoons olive oil +more for frying
1 lb. ground beef (80% lean best)
1 egg
3/4 cup Progresso brand Italian bread crumbs
1/4 cup freshly grated Parmesan cheese
1/4 cup fresh parsley, chopped finely
Salt and Pepper to taste.
This recipe will serve 4 people; it can easily be doubled or tripled for a crowd!
Coat a small frying pan lightly with some olive oil and add the chopped onion and garlic and a pinch of salt. Saute gently, stirring with a wooden spoon, until the onions and garlic have softened and given their flavor to the olive oil.
(I find that sauteing the onions and garlic gives both a nice mellow taste, and I would recommend not skipping this step. In fact, when my daughter was young, she insisted that she didn’t like onions, so I would remove the onions after competing this step and she never caught on to my trick!)
Put the sauteed onions and garlic, with the olive oil, into a large bowl.
Add the rest of the ingredients: 2 additional tablespoons of olive oil, ground beef, egg, breadcrumbs and parsley.
Sprinkle with salt and a grind of fresh pepper to taste (some people like more pepper, others less).
Mix gently with your hands, careful not to work the meat too much or this may make the meatballs tough!
Adjust amount of breadcrumbs as needed – more if you more, less to make a more “meaty” meatball. If too dry, add a few drops more of olive oil.
(What I learned from researching meatballs – moisten the breadcrumbs in a bit of milk to make for a more tender meatball. The milk should be heated gently on the stove before adding the bread. When all milk is absorbed, mash into a pulp with a fork.)
When the meatball mixture consistency is to your liking, pull a bit of the meat mixture off and roll into a ball to make a meatball. Size of the meatballs is to taste, but of course the larger meatballs will need to finish cooking longer in the tomato sauce.
Set a frying pan coated with olive oil over medium-high heat.
Place the newly rolled meatballs gently into the frying pan. Fry on medium high heat (adjusting as necessary during the frying time), turning each with tongs so all sides become browned.
(What I learned from researching meatballs – roll each in a bit of flour or plain bread crumbs to aid browning and help the meatballs hold together during frying.)
After the meatballs have browned, immediately remove them with tongs and gently place into a pot of simmering tomato sauce (recipe below) to finish cooking.
Serve with spaghetti for the Italian-American presentation, or continue on to the following Italian recipes for other serving ideas.
******************************
Ingredients
1 medium onion, chopped finely
1 clove garlic, chopped
2 Tablespoons olive oil
1 can (28 oz.) Contadina brand tomato puree or chopped tomatoes
1 can Contadina brand tomato paste
1/4 cup dried parsley or chopped fresh parsley leaves
1 Tablespoon dried basil or 2 Tablespoons torn fresh basil
1 Tablespoon of salt or to taste
Heat the olive oil in a large pot and saute the onions and garlic with a wooden spoon until softened.
Add the tomato puree, tomato paste, parsley, and basil to the same pot.
Add 2 cups of water.
Cover, bring the sauce to a boil, and then reduce heat to medium-low.
Simmer on medium-low heat with the lid partially covering the pot, stirring occasionally with a wooden spoon for at least 1 hour, so the sauce does not stick to the bottom of the pot and burn.
Cook for at least 1 hour; at least 1.5 hours if adding meat to the sauce. (Brown any meat in a separate skillet before adding it.)
Add additional water if the sauce becomes too thick, or cook for additional time with the lid of the pot off if the sauce becomes too thin.
****************************************
How to Make Italian Meatballs – My research…
****************************************
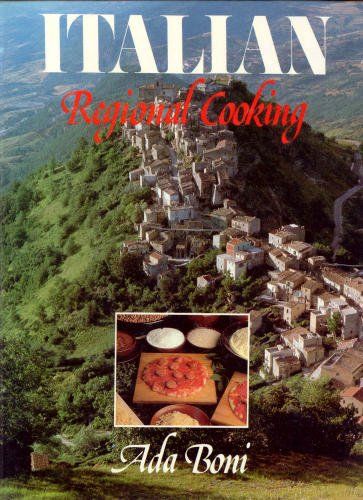
Ada Boni, (1881 – 1973) the author of one of my favorite Italian cook books, Italian Regional Cooking, was a well-loved Italian author and food writer. According to the back flap of the edition of my book, Ada Boni is known throughout Italy as the author of the classic bestselling cook book, Il Talismano della Felicità.
Boni worked as a magazine editor in Italy. This book is a collection of the series of food articles about regional Italian cooking that was originally written for the Italian monthly magazine “Arianna”. The magazine articles cataloged in depth recipes for the entire range of food served in the 14 major regions of Italy, long before the importance of regional cooking was understood here in America. Boni was and still is well-known for the authenticity and variety of her recipes.
The book Italian Regional Cooking is beautifully illustrated, with a spectacular photo montage of each Italian region to be covered at the beginning of each chapter that provides a backdrop for Italian tables laden with dishes from appetizer to dessert that evoke a special family gathering. (There are no images for each individual recipe, however). Although I have an edition from 1969 translated into English, the book is still listed on Amazon today. I found this book about 30 years ago in a book store in California and my cover is tattered by now!
When I wanted to research Italian meatballs, I searched this cook book in particular for a couple of reasons. First, I wanted to discover if the way Italian-Americans now make meatballs differs significantly from how an Italian in southern Italy makes meatballs. Second, I wanted to see if I could figure out the origins of the meatballs I make today.
****************************************
The Ingredients in Sicilian Meatballs
****************************************
In answer to my first question – do we make meatballs differently over here than they do in Italy, I searched the chapter in Italian Regional Cooking that lists the recipes for Sicily. I was pretty certain when I started my search that my family’s recipe was authentic, as it has been handed down from my grandmother, who spent her first 22 years in Sicily, and as the oldest child had been helping her mother with the household cooking since she was a young girl.
It turns out that the ingredients in Ada Boni’s Sicilian“Polpette di Maiale con Pitaggio” are almost identical to my family’s meatballs. “Polpette”* is the Italian word for what we call “meatballs” in America, but the translation given is, “Pork Rissoles with Vegetables.”
**********
The meat used for the meatball recipe from Sicily is pork, rather than beef, which of course would be more easy to come by in Sicily. If I have ground pork or ground turkey on hand, I occasionally will use this meat to “lighten up” the meatballs. The CIAP cooks used a variety of different meats (see about Neapolitan meatballs below). The meatballs were rolled in a bit of flour before frying, which is an idea I will use from now on.
Instead of breadcrumbs, the recommendation is to soften the “pith of a small roll” with milk and “squeeze it dry.” Several of the home cooks at the CIAP event mentioned using this method instead of bread crumbs, and I will have to try this on my next attempt at making meatballs. And, of course, the Progresso brand of breadcrumbs is an American invention, so here is how we changed the meatball over in America for sure!
Other than that, the ingredients listed for Sicilian Polpette were about the same as the meatballs I had learned to make. The onion my family puts into meatballs was left out, but included were garlic, fresh parsley, grated Parmesan or Pecorino cheese, eggs, salt, pepper, and a bit of flour to coat the meatballs before frying. The flour is another good tip! Most of the CIAP cooks included these ingredients.
How to serve Sicilian meatballs: Suggested serving was with sauteed artichokes (with chokes removed), green peas and fava beans in the same oil used for frying the meatballs.
I have not seen meatballs served this way, but plan on trying this suggestion, which sounds good since true Italian meatballs (I am told, but am not quite convinced) should served with Italian bread, rather than pasta.
***************************************
The Ingredients in Neapolitan Meatballs
****************************************
When I searched the chapter in Italian Regional Cooking that lists the recipes for Napes-Capagna, I discovered “Polpette di Carne”, translated into “Meatballs in Tomato Sauce Neapolitan Style.”
**********
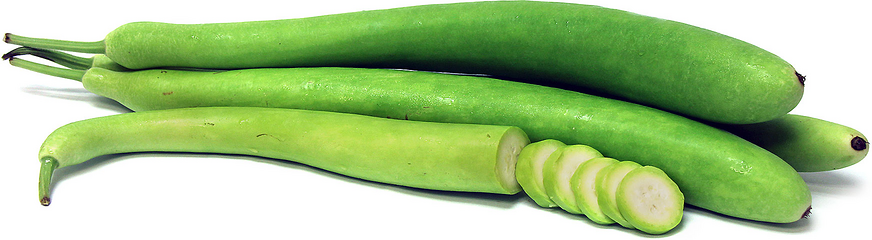
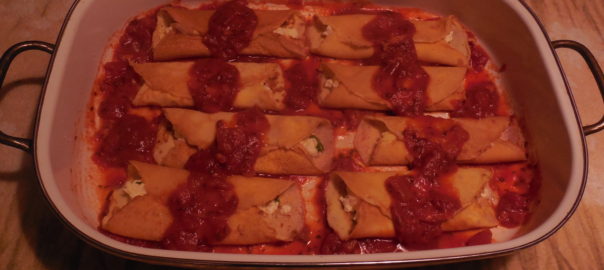
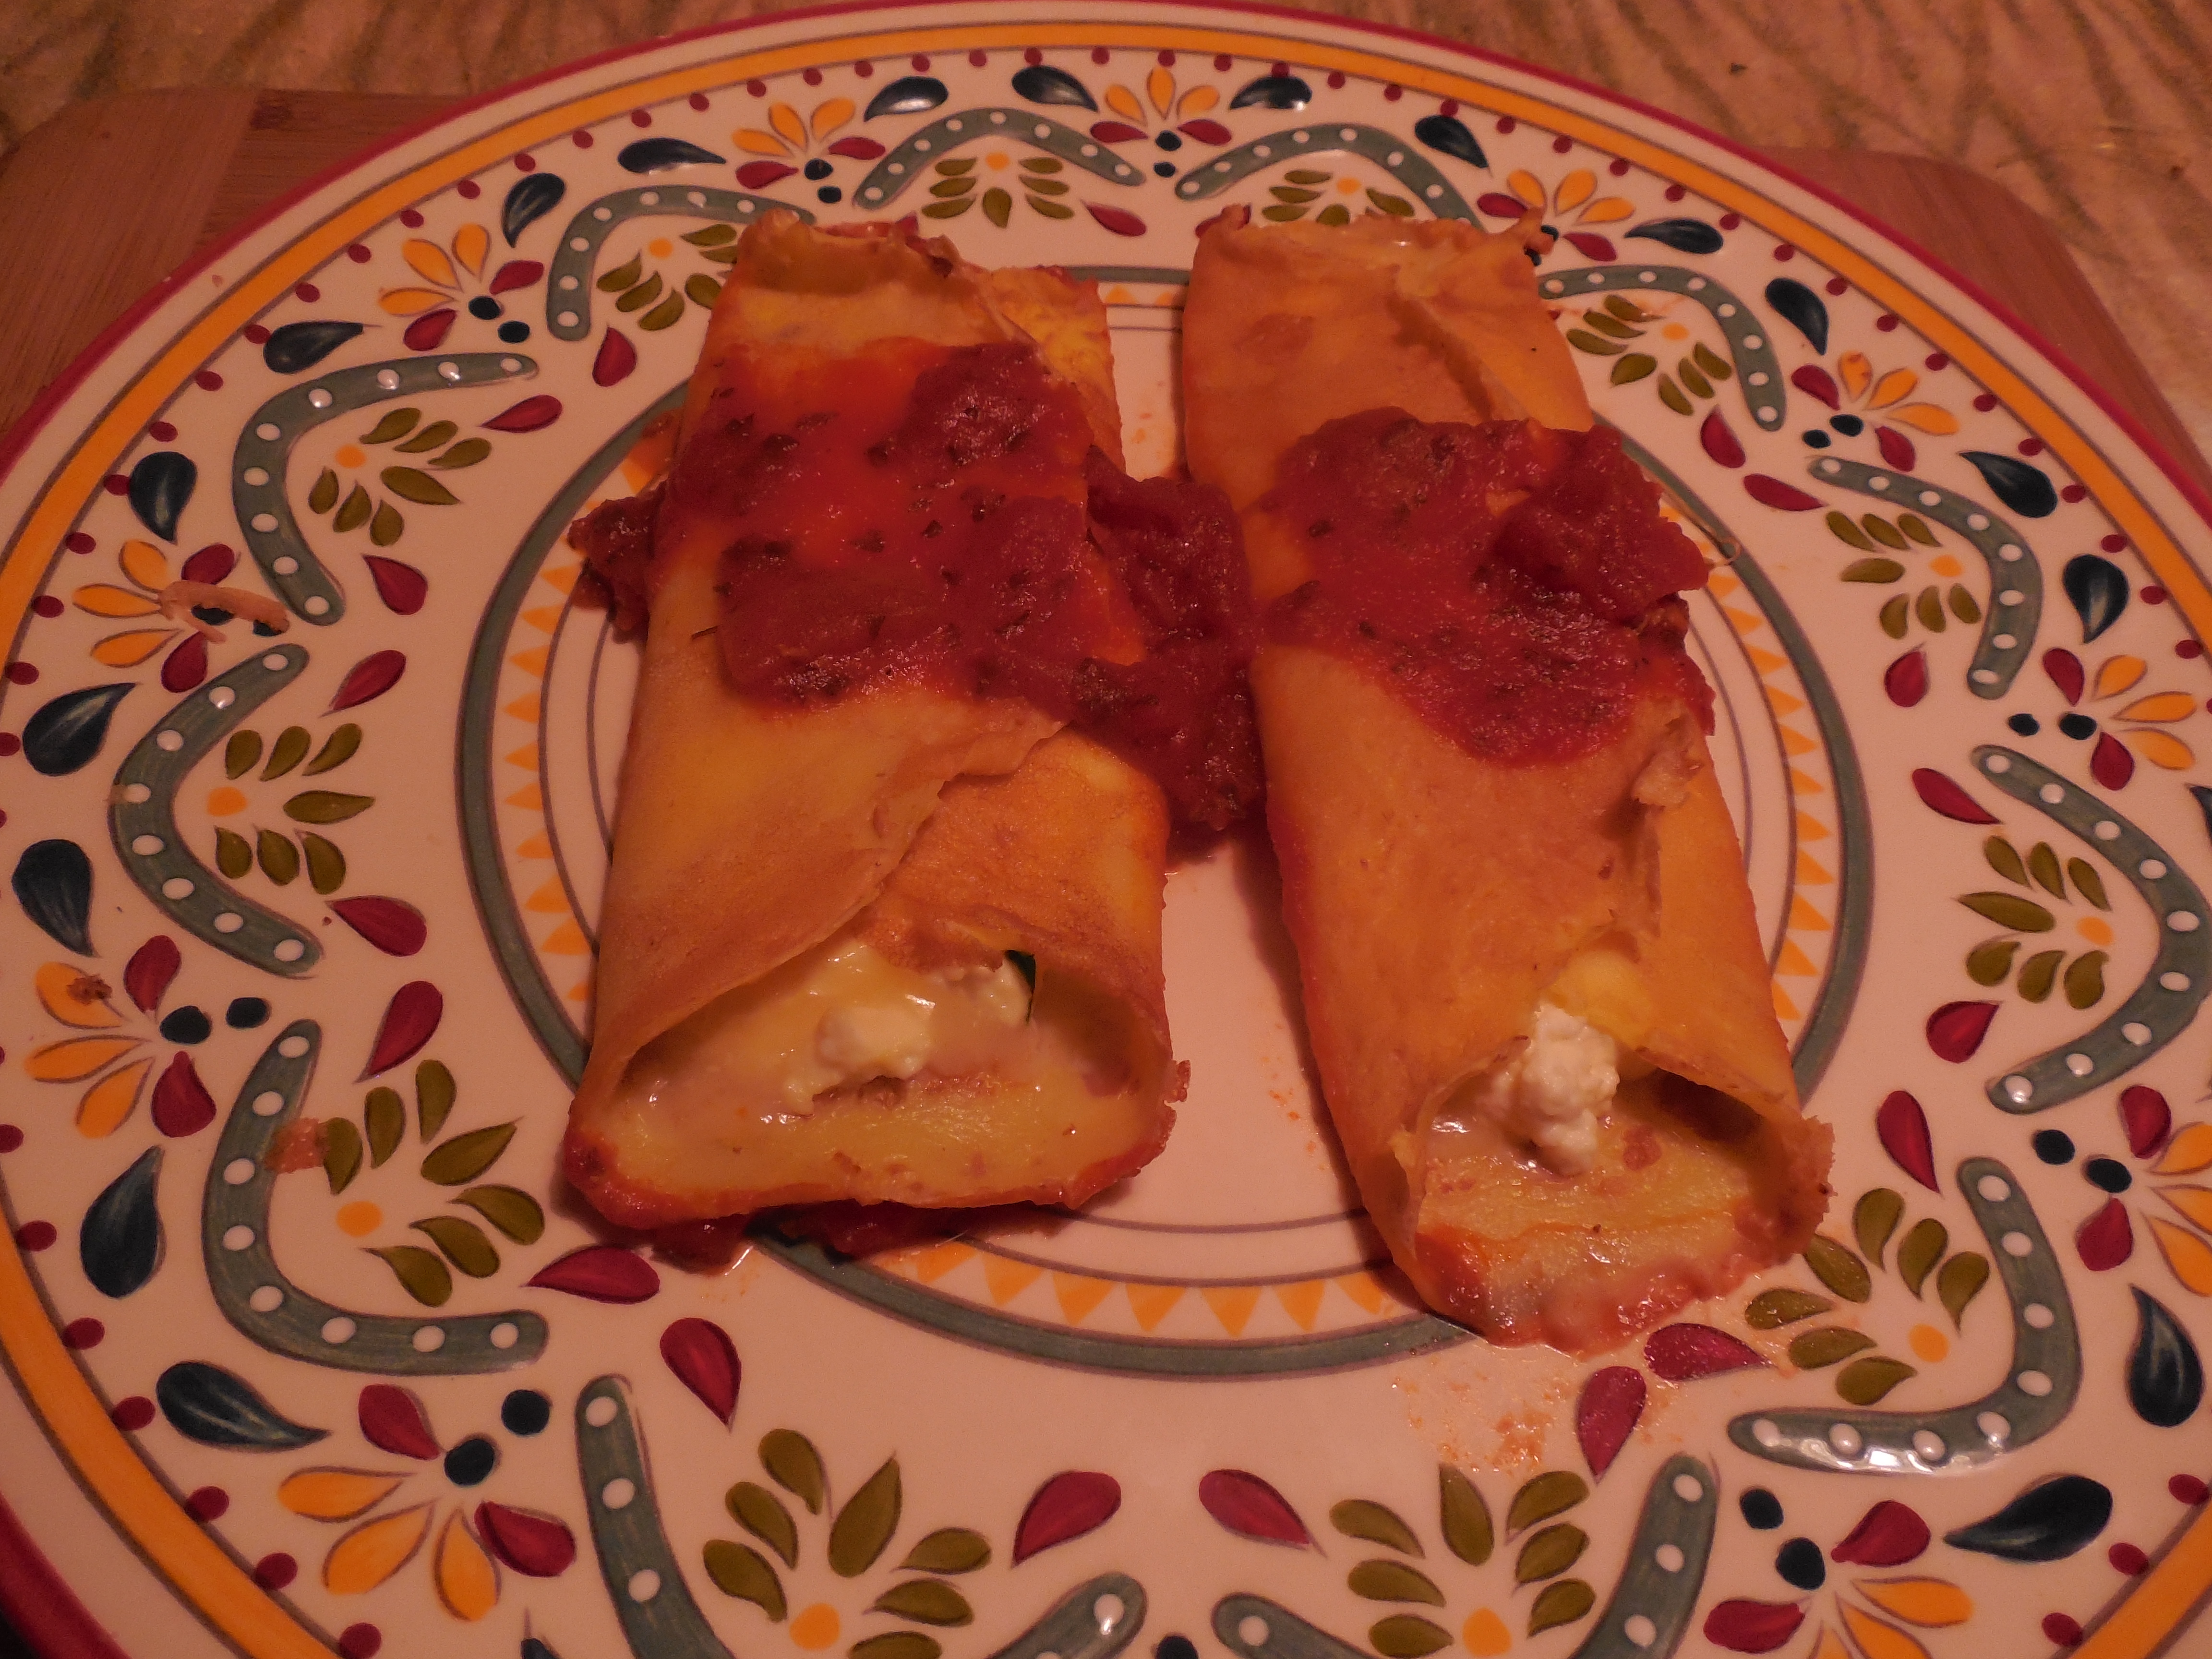
The meat used for the meatball recipe from the Naples region is beef, which is probably the most common meat used in America today, although the CIAP cooks used ground pork and a mixture of been and pork as well. One cook even made vegetarian meatballs of her own invention using zucchini flowers (Salvatore’s mother) and I have to say, they were delicious. Again, the meatballs were rolled in a bit of flour before frying.
Breadcrumbs were used in the Neapolitan recipe, of course grated from stale Italian bread, and first moistened with a little milk. This seems like a good idea to me, and I am going to include this tip from now on when I make meatballs.
The remaining ingredients listed for Neapolitan Polpette differed significantly from the meatballs we see most frequently in America today in that they called for yellow raisins, pine nuts, and a bit of lard. Onions were again left out. The remaining ingredients of garlic, parsley, eggs, and Parmesan cheese were the same basic ingredients given in the Sicilian recipe.
I tried the Neapolitan style meatballs one night for dinner (you might notice some pine nuts in the images of my mixing bowl from the first section of the blog!), warning my family that they would taste sweeter than our usual meatball. I have to say the addition of milk and a bit of lard made them the most tender meatballs I have ever had!
But it seems like Americans have lost their taste for a “sweet” meatball, however, and it was a consensus at the CIAP dinner that “no one” here in America used raisins anymore.
How to serve Neapolitan meatballs: Suggested serving was with tomato sauce, and a recipe for simple tomato sauce was provided, as noted in the title for the recipe.
****************************************
How to Make Italian Meatballs – My conclusions…
****************************************
It seems to me that there are as many ways to make and serve Italian meatballs as there are home cooks to make them! I do find it interesting, though, that here in America we have retained the idea of cooking meatballs in tomato sauce, whether the idea is from Sicily or Naples, and meatballs are paired with spaghetti is indeed an “American classic”.
**********
* A final tidbit of interesting information: when I looked up the word “polpette” in the dictionary, which means “meatballs,” I discovered that the Italian singular “polpetta” for the singular meatball, has several negative connotations. “Polpetta” can refer to “poisoned bait,” possibly because the reference is to little pieces of meat that are poisoned. “Polpetta” can also be used in a figurative sense, to mean that a person is a “dud” or a “drag.”
—Kathryn Occhipinti

Kathryn Occhipinti, MD, is the author of the
Conversational Italian for Travelers series of books and a teacher of Italian for travelers to Italy in the Peoria and Chicago area.
“Everything you need to know to enjoy your visit to Italy!”
Join my Conversational Italian! Facebook group and follow me on Twitter at StellaLucente@travelitalian1 and start to learn Italian today for FREE!
Conversational Italian! Facebook Group
Tweet @travelitalian1 for Stella Lucente Italian
YouTube videos to learn Italian are available from © Stella Lucente, LLC.
Learn Conversational Italian.
More information on and photographs of Italy can be found on Facebook Stella Lucente Italian and Pinterest Stella Lucente Italian.
Facebook Stella Lucente Italian
Pinterest Stella Lucente Italian
Visit learntravelitalian.com/download.html to purchase/download Conversational Italian for Travelers and find more interesting facts and helpful hints about getting around Italy! Learn how to buy train tickets online, how to make international and local telephone calls, and how to decipher Italian coffee names and restaurant menus, all while gaining the basic understanding of Italian that you will need to know to communicate easily and effectively while in Italy. —From the staff at Stella Lucente, LLC
Italian Meatballs: A Tribute to our Italian Mothers